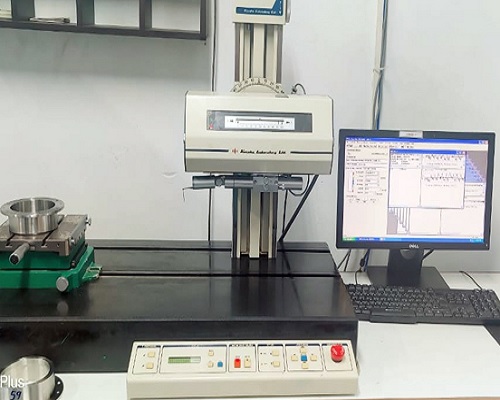
Surface Testing in Chennai

We are a well influential company in Chennai in the field of Surface Testing. For any questions Contact us.
Surface roughness is defined as the irregularities which are characteristic in the production method. Roughness it is enumerated by the deviations in the direction of the normal vector of a real surface from its perfect form. If these deviations are large, the surface is rough; if they are small, the surface is smooth.
Applications of Surface Testing
- In many applications surface roughness is closely connected to function, for instance where two surfaces are in close moving contact with each other their roughness will affect their sealing or wear properties. This might suggest that it is a case of “the smoother the better”, but this is not always true as other aspects may be involved.
- Where lubrication is involved it has been found that irregularity valleys are required to hold oil. Also, the monetary aspect must be considered: it costs a lot of money to produce very smooth surfaces and the expense of this exercise can add to the bill considerably without gaining a great deal of performance.
- Though well two surfaces in relative motion are lubricated, some wear will occur. If the surfaces are rough, they will soon become flatter as the peaks wear away. Meanwhile this removes metal there will be a quicker change in the fit of the two parts than if the finish was at the optimum from the start. On the other hand, some parts such as clamping devices or a pin with an “interference fit” depend on friction for their functionality.
- Another application where roughness can have an influence on performance is the use of lip seals to avoid the escape of hydraulic fluids. If the finish is too smooth it is difficult to maintain a fluid film between the shaft and the seal. If the finish is too rough it can cause abrasion and consequent breakdown, leading to failure. Inspection of the texture left on a component after machining will often reveal tool defects, incorrect tool settings or wrong tool speeds and feeds.
Visit us in Google Maps


Leave a Reply
Want to join the discussion?Feel free to contribute!